Once you have created your meetings, you can easily take bookings for those meetings from the admin dashboard. Also, the customer can book from the meeting preview page.
There are 2 ways of creating meeting- Method-01: By Using ´Add new Booking´ and Method-02: Directly from the Calendar
Method-01:
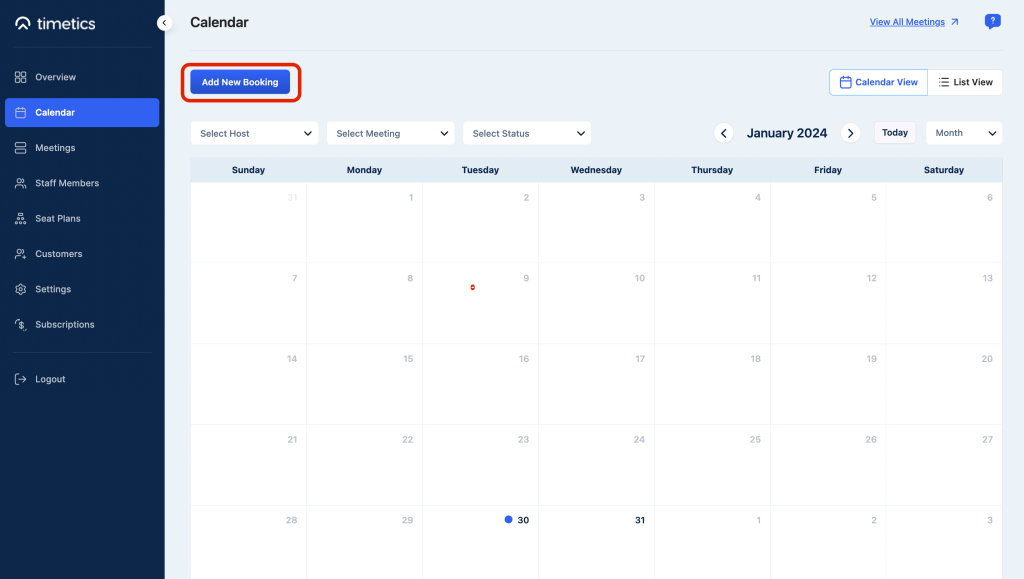
You can add new bookings manually from the Admin side. Simply navigate to Timetics > Calendar > Add New Booking.
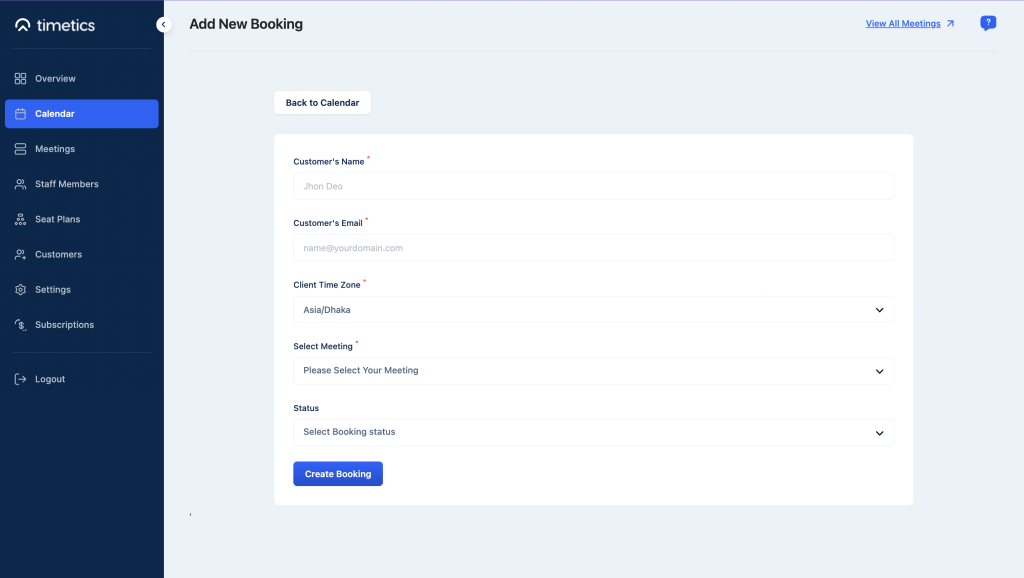
You´ll be redirected to a new page where you can put the customer information for bookings. Here you have to place your customer’s Name, Email, Meeting, Meeting Host, Date, Time, and booking Status.
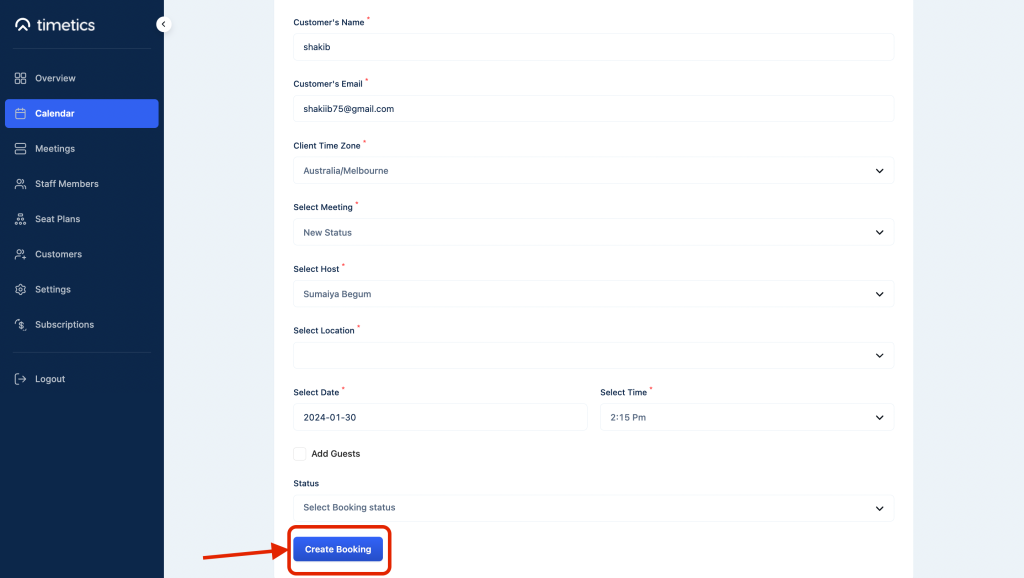
Once all the required fields are filled, click on ´Create Booking´ and your booking will be created.
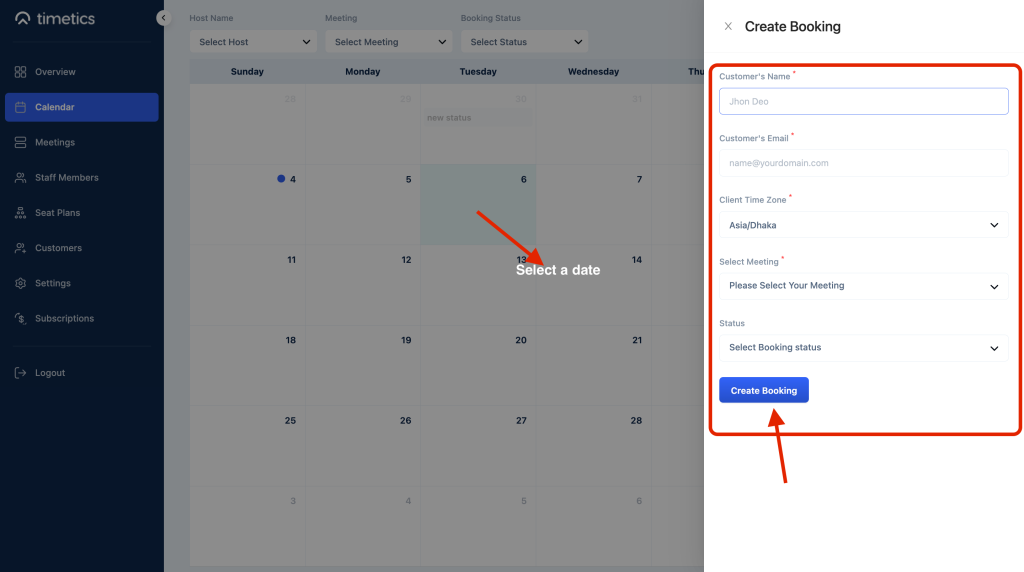
Method-02:
In this mathod, you can simply select a date from the calendar, and create a meeting. For this Click on a date > Fill the form > click on ´Create Booking´
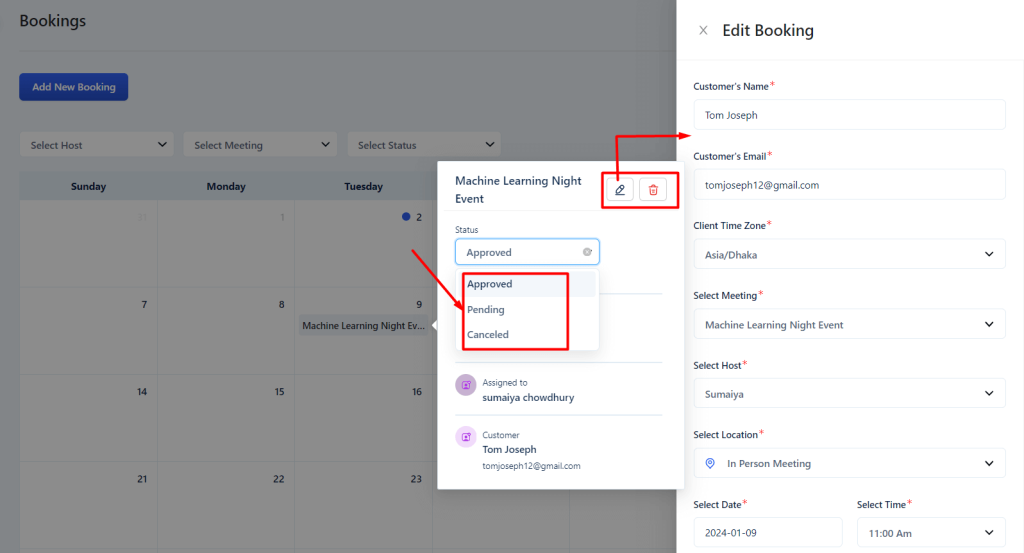
Reschedule/ Edit Booking
If you need to reschedule or edit a booking after creating it, you can do so from here. Click on the already created Booking from the calendar and a right sidebar will open.
Change the inputs as you need, and Click on the ´Update Booking´ to edit and reschedule a booking.