As an online Appointment Booking solution, Timetics´s Dashboard is extremely easy to use for businesses and individuals of all types. Whether you’re a creative freelance worker or a business owner, you can schedule, re-schedule, edit, and delete bookings and meetings seamlessly using this robust solution.
Here´s a guide to the Timetics Dashboard
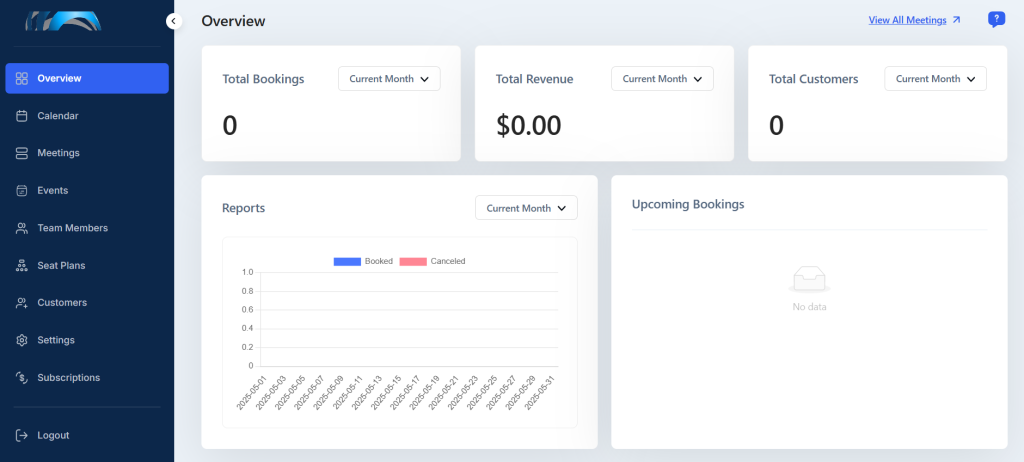
Timetics Dashboard
When you log in to your user account, you will redirected to a window like the image below ⬇️
Sidebar Button, View All Meetings, Help Center
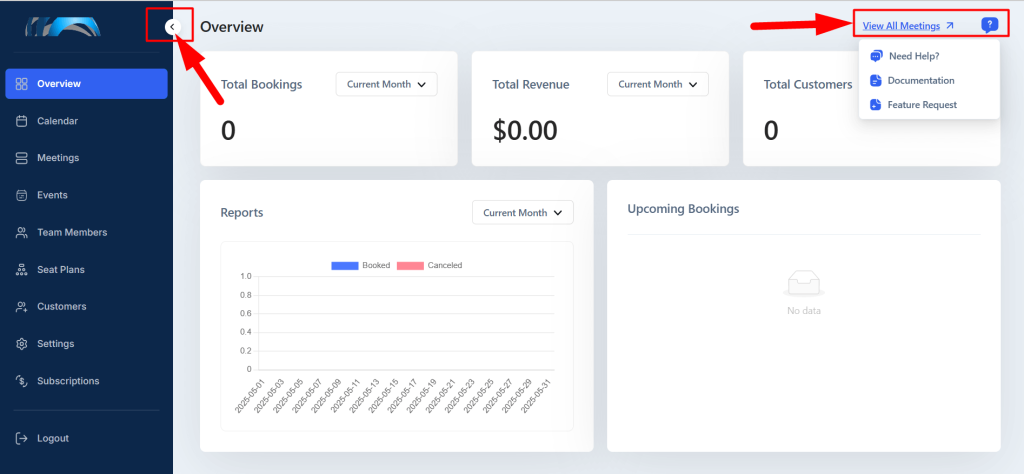
1️⃣ Sidebar button: This button allows you to open and close the left sidebar located on the Timetics Dashboard.
2️⃣ View All Meetings: Get a Preview of all your scheduled meetings from here.
3️⃣ Help center: Get Help from Support, read more Documentation, and Send a feature request by clicking this Icon.
Here how it looks like once you click it ⬇️
Overview, Calendar, Meetings, Staff Members, Seat Plans
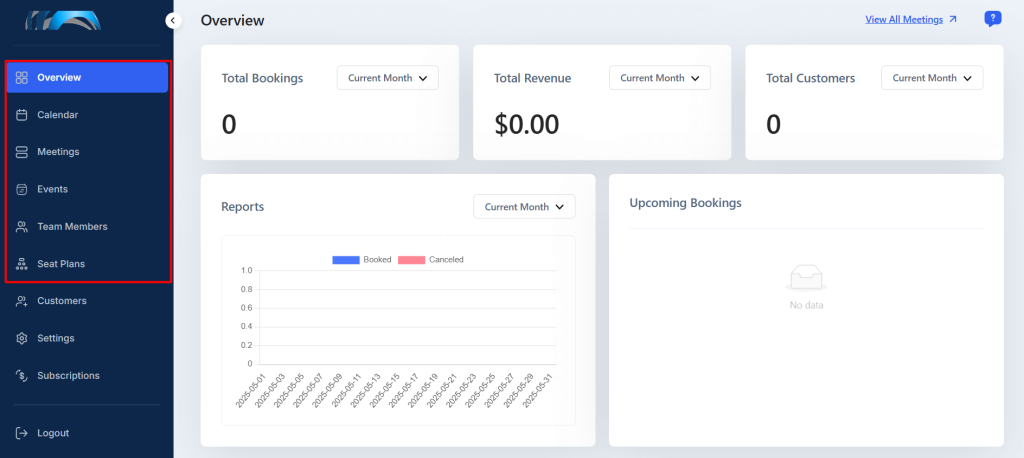
1️⃣ Overview: Provides detail analytics and report of your meetings, income, performance details etc.
2️⃣ Calendar: Get a daily, monthly, weekly, and yearly preview of your bookings, and appointments from here.
3️⃣ Meetings: Manage every type of meeting from here. (Know more about- Meetings)
4️⃣ Staff Members: Manage your staff, and staff accounts from here.
5️⃣ Seat Plans: Decorate, and edit event seat design from here.
Customers, Settings, Subscriptions, Logout
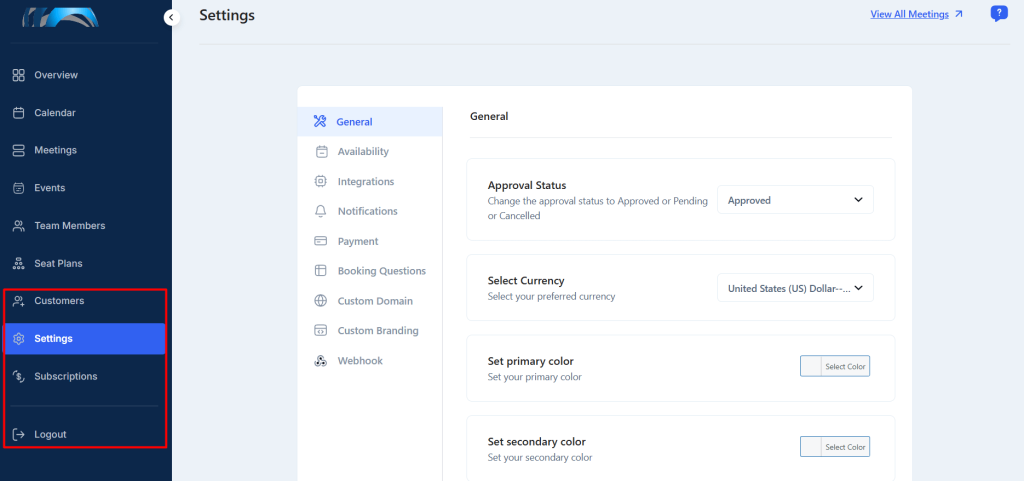
1️⃣ Customers: Import, Export, View details, and manage customers from here.
2️⃣ Settings: Bring changes to account, and user details from here.
3️⃣ Subscriptions: Manage subscriptions from this panel.
4️⃣ Logout: Switch accounts or Logout from the current account from here.