Webhooks help communicate with third-party websites and other external APIs that support them. In the Timetics webhook field, you can send booking notifications to the third-party website URL and can pass the booking information when it will be created, updated, or deleted, etc.
How do I add a new webhook on Timetics?
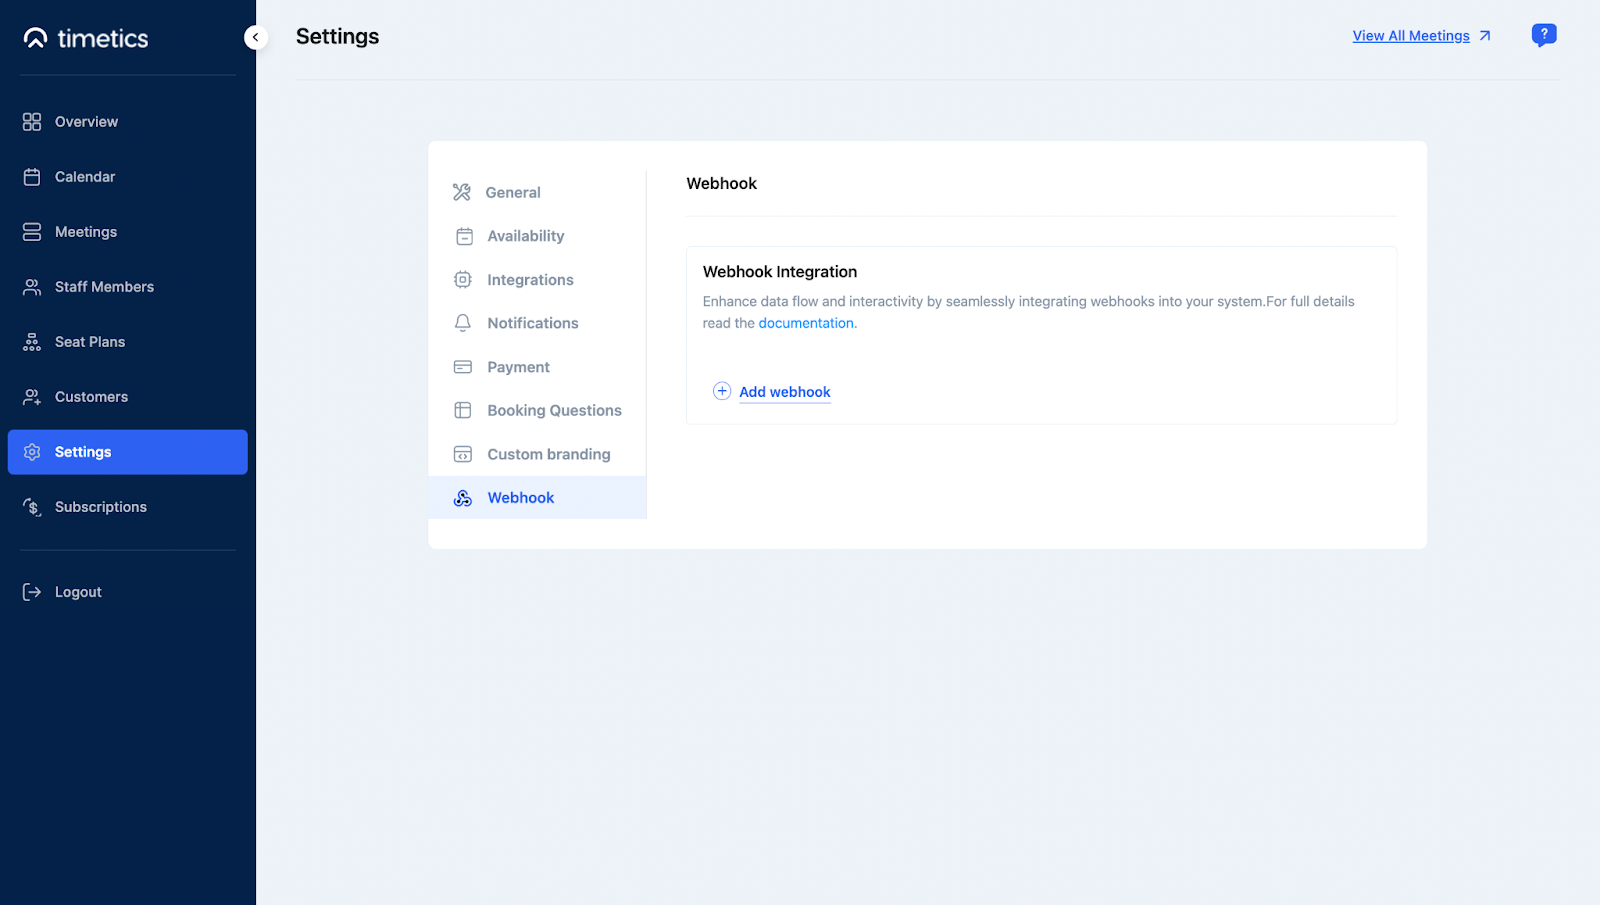
- Log into your Timetics admin dashboard.
- Navigate to Settings.
- Click on Webhook.
Add New Webhook
To add a webhook, click on the “Add Webhook” button.
A new pop-up form will be opened. Fill up the form fields according to your webhook information and save the changes.

Please check out the description of all the webhook fields–
- Name: Insert a webhook title in the Name fields when you create a new webhook for your booking.
- Description: The description field is used to enter a description that explains what the webhook is used for.
- Status: There are 3 statuses for a webhook: Active, Pending, and Disable. 1) If you want to deliver the payload, you need to select the active status. 2) If you don’t deliver now, you can select the pending status; and 3) You can select the disable status if you don’t want to deliver the payload.
- Topic: The webhook will trigger according to the topic you select. Select the topic from the Topic drop-down list when you want to trigger the webhook.
- Delivery URL: Insert an API endpoint that accepts the post request. Add the URL where your webhook should deliver the payload.
- Secret: When inserting the delivery URL, the secret key will automatically be generated in the secret field.
Hit the ´Add Webhook´ button, and your Webhook is ready to bring changes!
The notification with data will now be sent to the delivery URL that you added to your webhook delivery URL following the topic action that you chose.