Calendar Basics
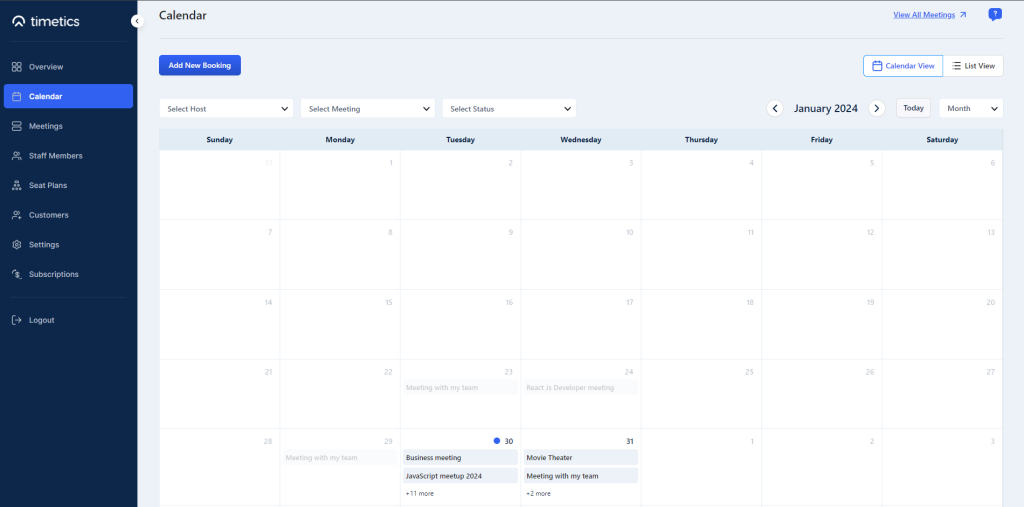
The Calendar dashboard allows a user to get a glance at all of their meetings from one place. They can create, edit, and track bookings that occurred in a day, during a week, and even a month.
To access the ins of the Timetics Calendar feature, go to your Timetics admin dashboard > Select Calendar.
Add New Booking, View All Meetings, Calendar, and List view
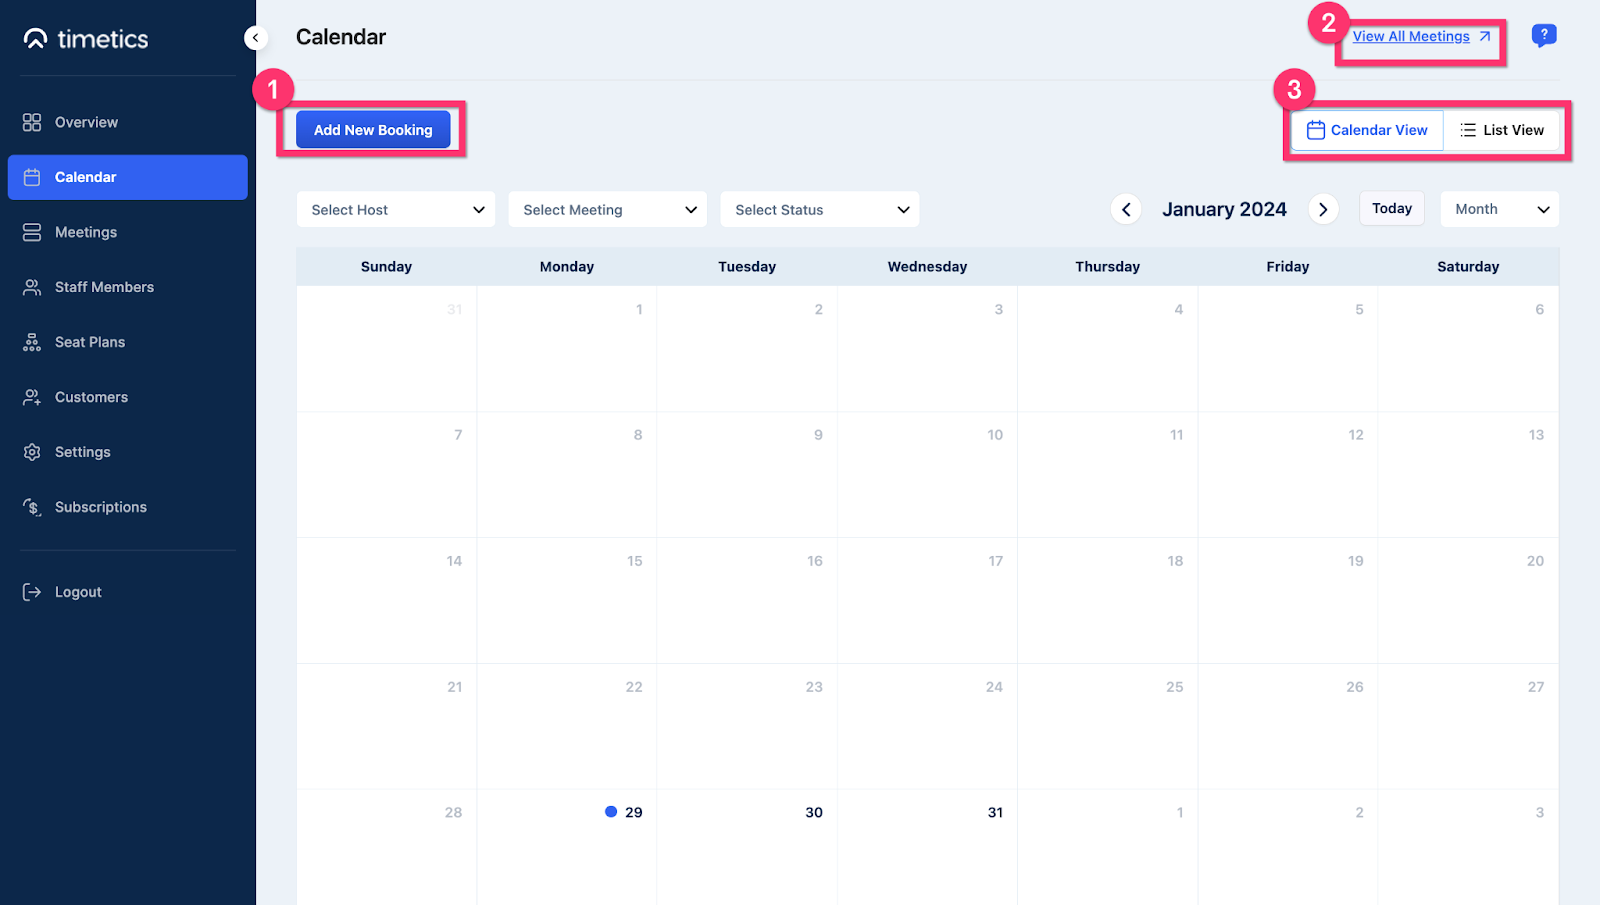

1️⃣ Add New Booking– You can create new bookings directly from this page by clicking on the ´Add new booking´ button.
Read this documentation to create a new booking.
2️⃣ View All Meetings– Get a preview of all meetings from one place, and filter them according to their types. You can also share this link with users to allow them to make multiple bookings from one place.

3️⃣ Calendar and List view- You can select the view settings of the booking dashboard into Calendar and List view.
👉 Learn more about Calendar View-

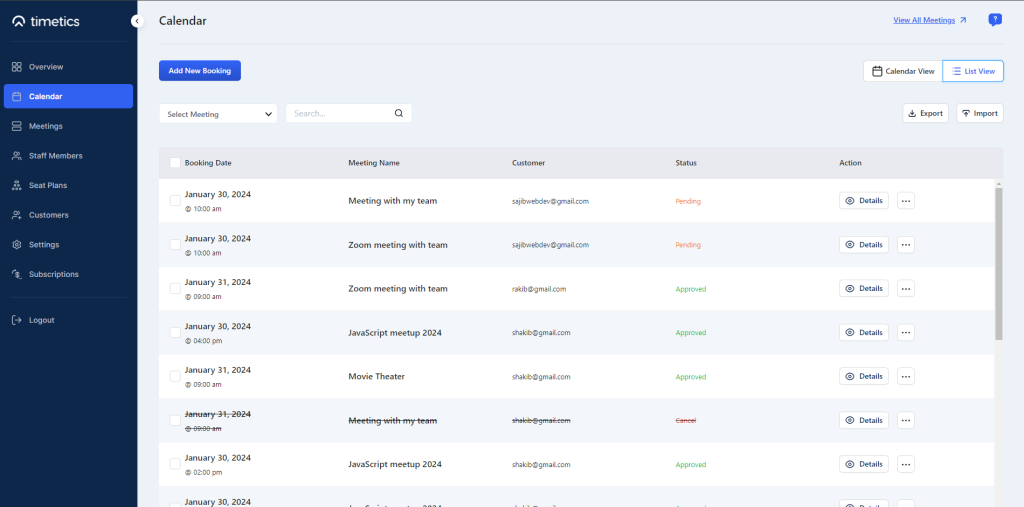
👉 Click here to learn more about the List view.
Select Host, Meeting, Status, Calendar swipe, Current date, and Time Slot changer.

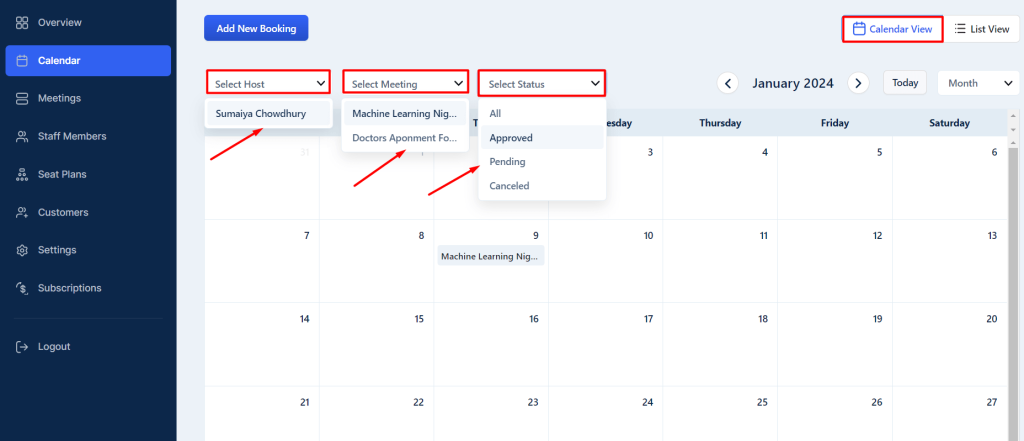
1️⃣ Select Host– You can select a specific host to track all the bookings arranged by that specific Host.
2️⃣ Meeting– Select a meeting from the list or calendar to see when that meeting has taken place or will start.
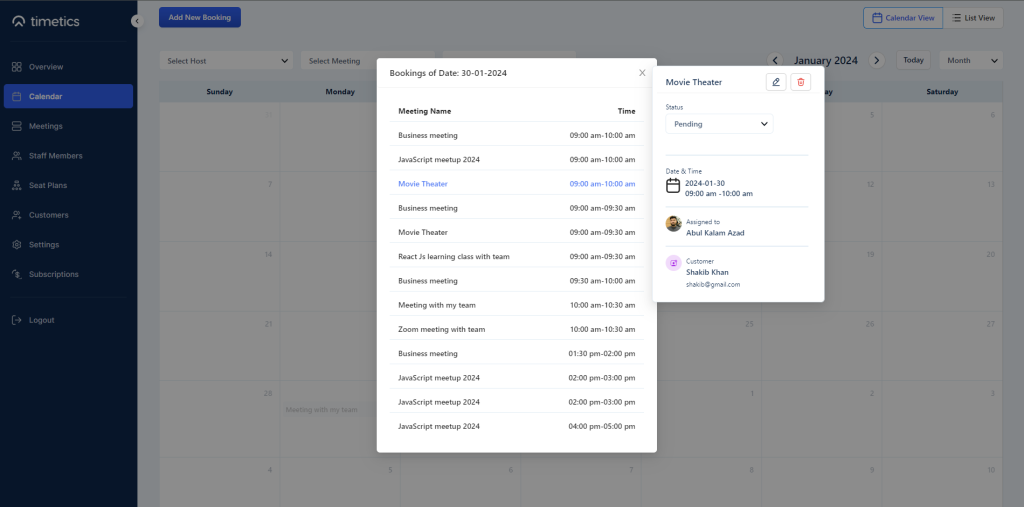
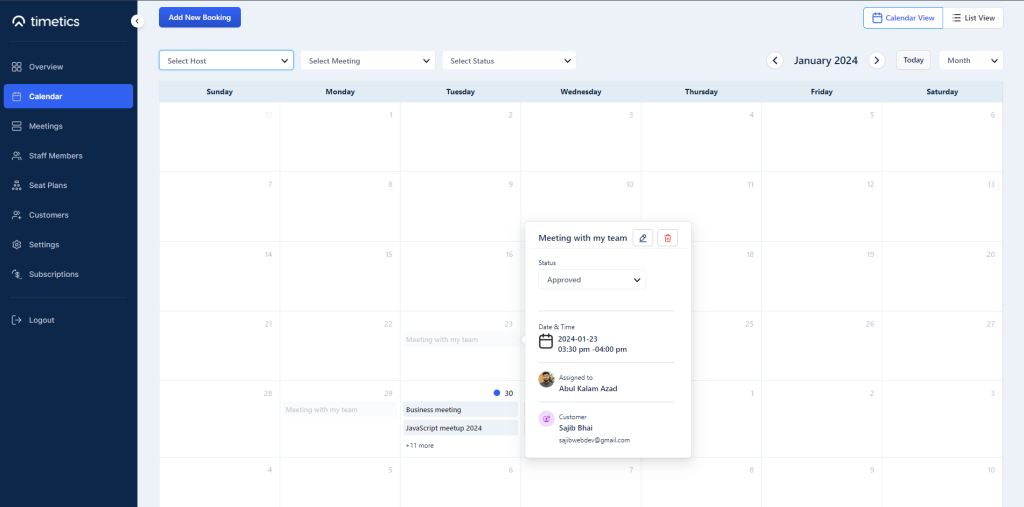
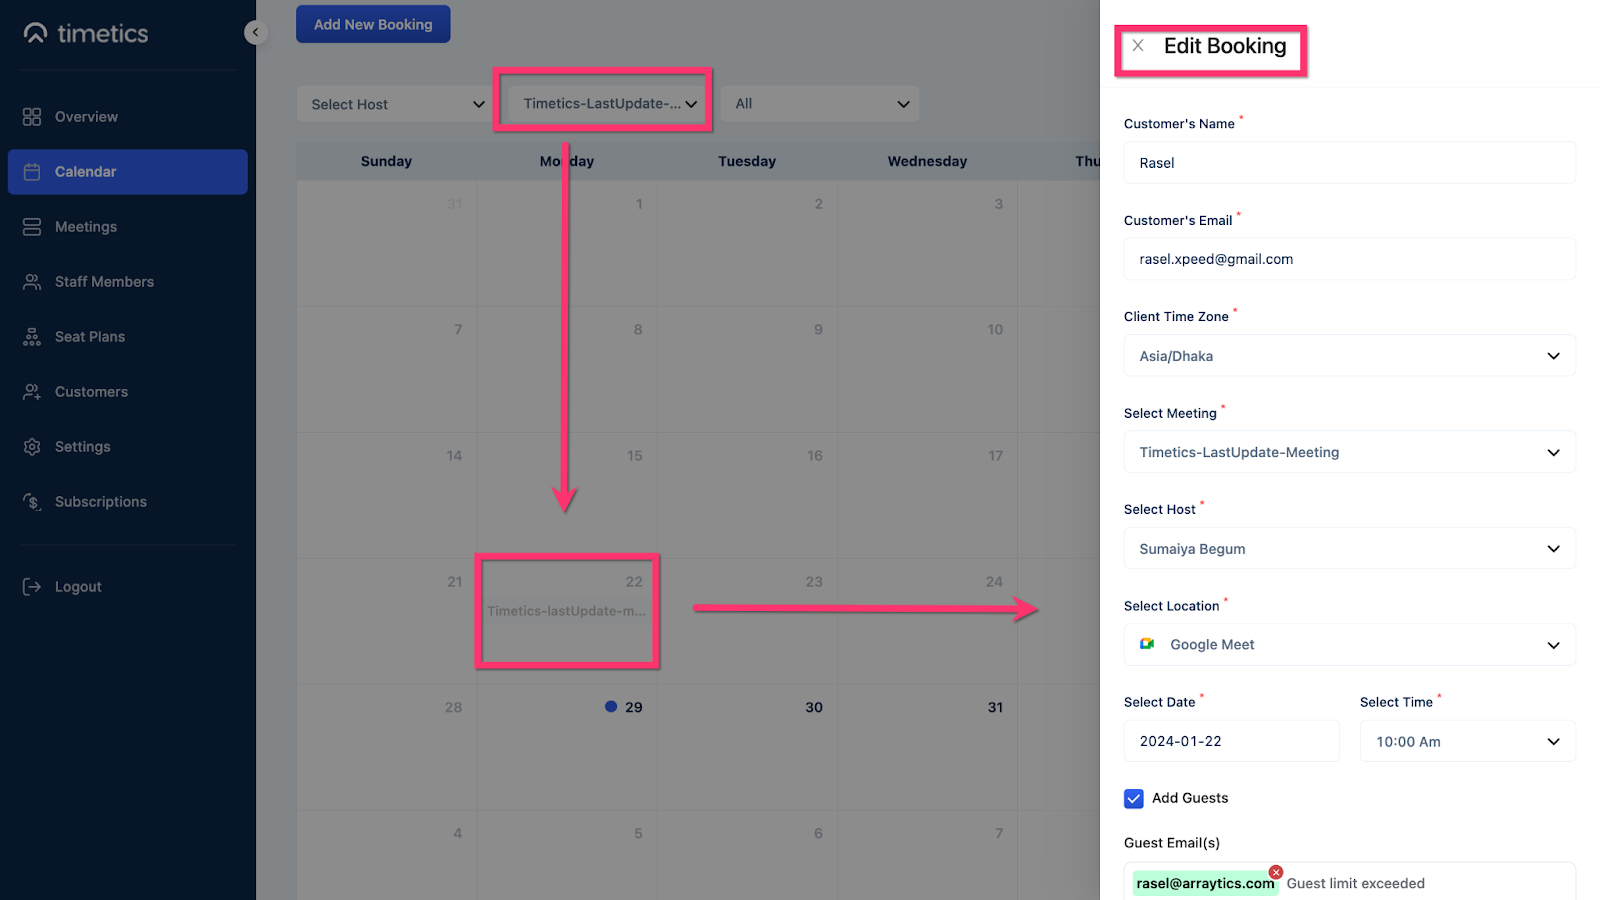
You can learn more about that meeting, even edit, and delete them as per your need.
3️⃣ Status– Meetings can be filtered into three categories according to their status, i) Active, ii) Pending, and iii) Cancelled.
4️⃣ Calendar swipe- Swipe date, week, or month back and forth to get data directly from the calendar page.
5️⃣ Current date- Navigate back to your current date after monitoring data from previous or future dates or months within one click.
6️⃣ Time Slot changer- Set your calendar view in day, week, or month.