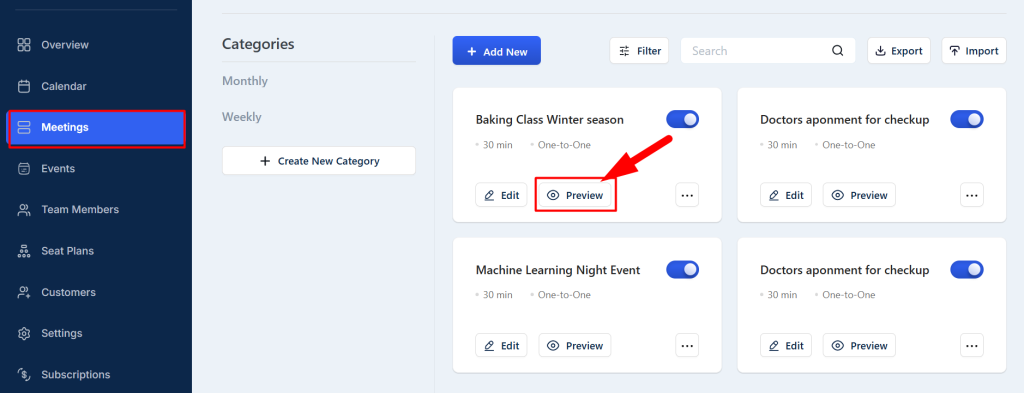
From this guide, you will learn the process of booking using a meeting link. A user may find a booking link in their inbox or their email. As an admin, you can also preview the Frontend view of how a user may find your booking form by clicking on Preview Meeting.
Here are the ways to access Booking Frontend view/ Preview-
- Go to meetings > Select a meeting > and click on ´Preview´
- or Go to Calendar > Select ´view all meetings´ from the top right corner > click on ´Book Appointment´
Steps to Booking an Appointment
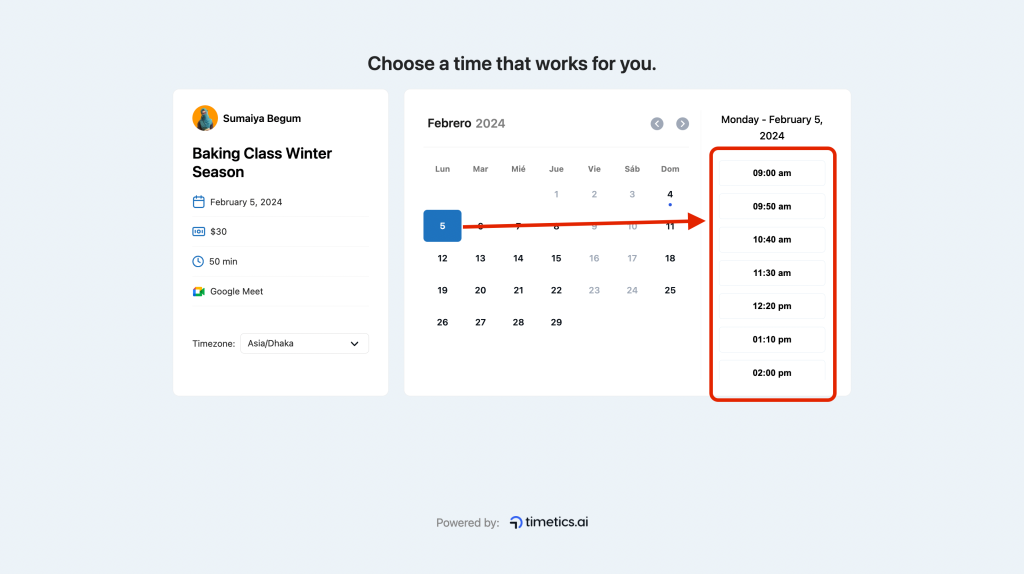
Here from the meeting preview, a customer should select their preferred Date & Slot from the time-slot list.
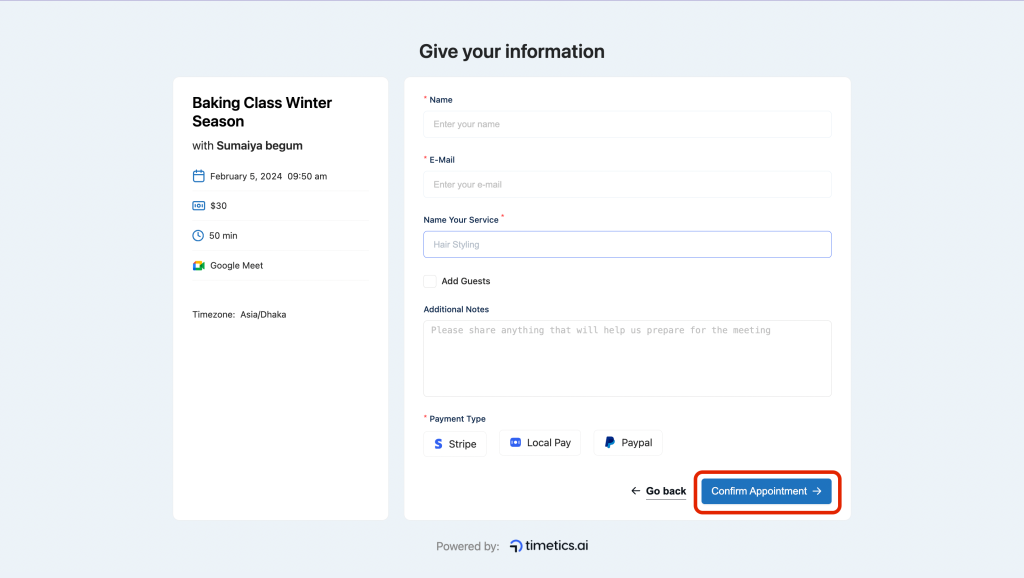
Now, add your details as a customer. At this point, you should also select your preferable payment getaway from the available option and Select ´Confirm Appointment´.
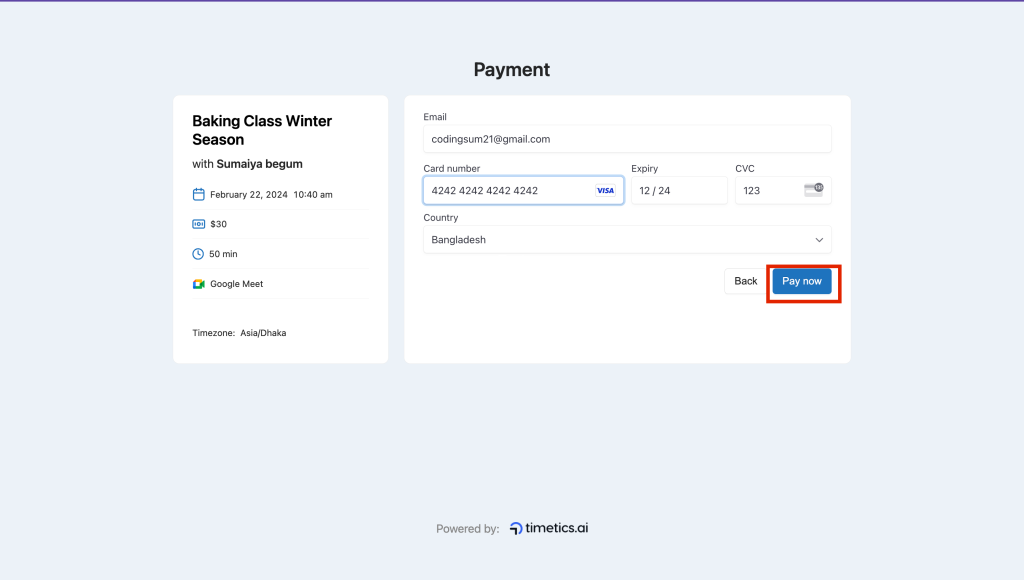
Now, add payment details and click on ´Pay now´
And boom! your appointment is successfully booked-
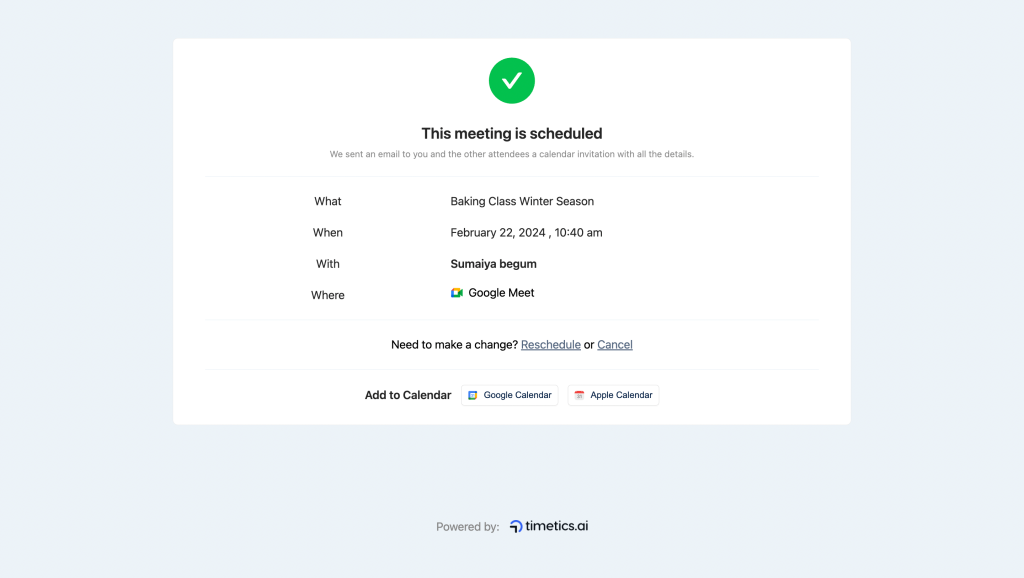
The host will get the mail when any meeting will be scheduled. The email will contain every detail about the meeting to prevent confusion.